Somehow I ended up following @bronzejaguar on Twitter, which made me aware that now the Urbit project (https://urbit.org) has spawned a marketplace of planets. I’d been following Urbit loosely for a while, but now it looked like something I could play with. I’m going to write up the steps I took this afternoon to install Urbit and host it on the same server as this WordPress site.
The first step I took was to buy a planet. They are pretty cheap, about 0.1 ETH (~$21 as of this writing) plus some transaction fees. I had some BTC left over from mining a couple years ago, so I logged onto my exchange and bought 0.2 ETH with it.
I went to https://urbit.live and browsed their planet selection. I found one with an interesting name (it included an actual word!) and pressed the button to buy it:

This pulled up my Brave browser’s wallet, which was empty. I realized I needed to transfer the ETH from my exchange to the wallet. Once done, I tried the Buy button again, and this time it allowed me to transfer the ETH to complete the purchase. I was redirected to https://etherscan.io to see my transaction complete. The purchase process takes a little getting used to. You don’t get an email confirmation; rather your address (a long alphanumeric string associated with your wallet) proves you made the purchase and own the planet.
Once done, I navigated to Bridge (https://bridge.urbit.live) to claim the planet. The option that seemed most feasible was to use my Ethereum Private Key (exported from Brave’s wallet) to verify:

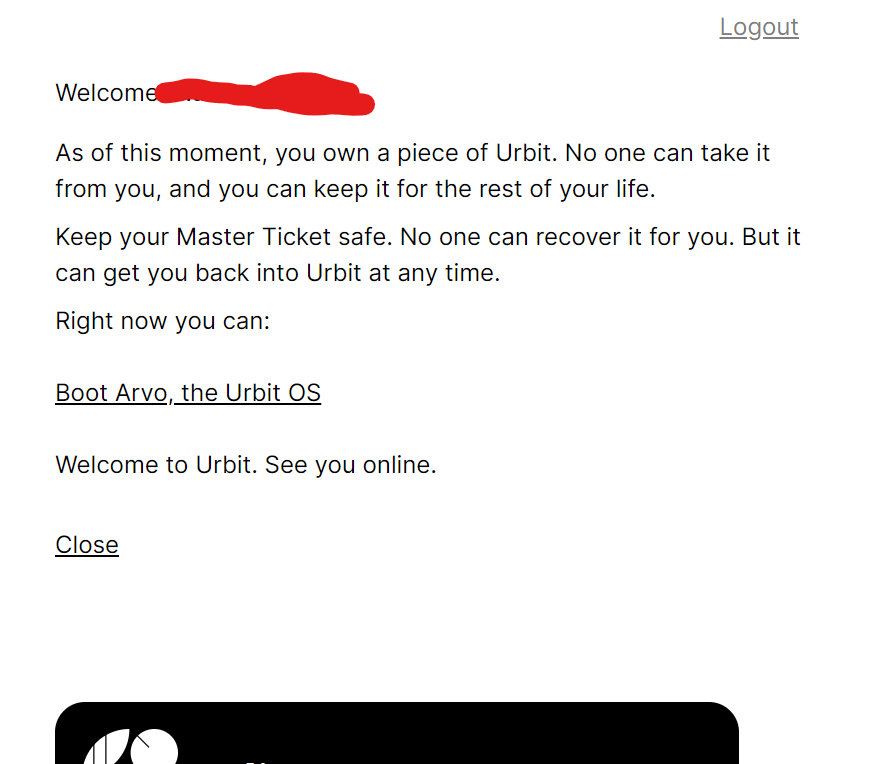
After completing this step, I was presented with my planet:

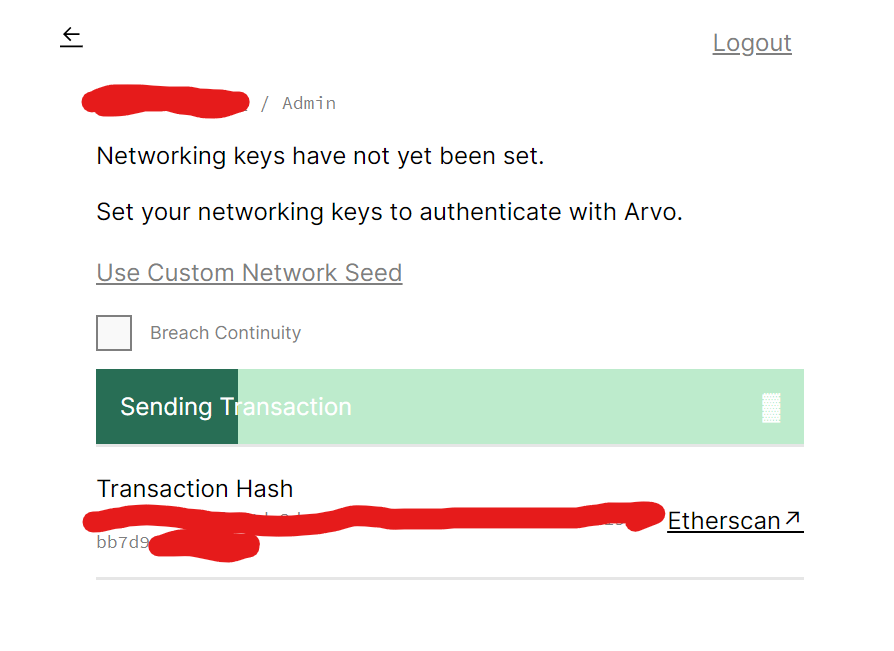
Next step was to set networking keys:

Frankly I don’t remember what was involved here but it was pretty easy.
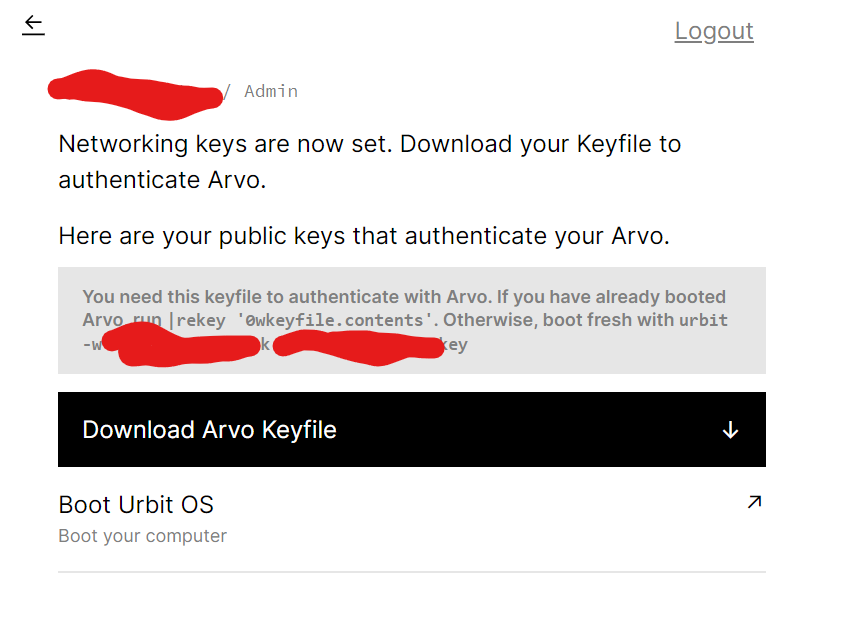
After this I could download the Arvo keyfile:

I saved this locally at first. In part 2 I’ll describe the server setup.
Comments